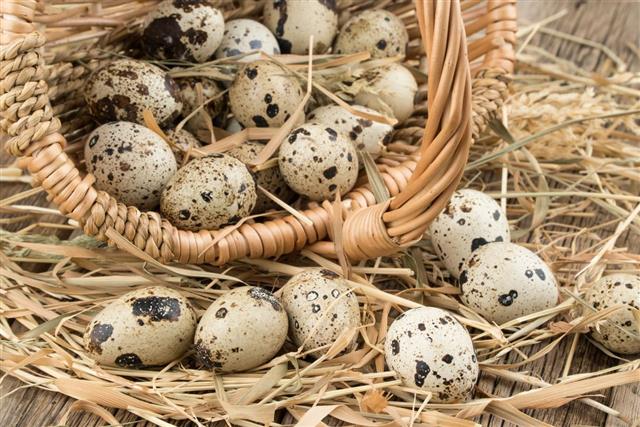
Are you thinking of hatching quail eggs and educating kids about the process of raising game birds? The following article will cover some information that will help you with this.
Quails belong to the Phasianidae family of short-tailed game birds. There are about 95 species of Old World quail birds. The Phasianidae family is divided into two sub families: Phasianinae and Perdicinae. The New World quail birds have about 36 species that belong to the subfamily of Odontophoridae. These birds build their nests in tall grasses in plains and farmlands. They are heard more often than seen due to their really good camouflage. These birds are often hunted as game birds and today are very commonly raised for eggs and meat. Let’s see how their eggs can be hatched.
Without an Incubator
Hatching quail eggs without an incubator is possible by three methods. You can either get quail hens to sit on and hatch them. If you have the fertilized eggs and no quail hens, then you need to use a broody hen to sit and hatch them. Or else the best way is to make an incubator using recycled matter. The following instructions will help you build an incubator.
Take a Styrofoam cooler and cut a hole in the lid with a knife. Through this hole, insert a light socket with a cord upside down. Take a glass piece that is about 8″ by 11″ and cut a hole smaller than the glass piece in the side of the cooler. Tape the glass on the outside of the cooler with duct tape and this will serve as a window. Make small holes to allow ventilation inside the cooler. Fill a container with water and place it inside the cooler. This will help make the air inside humid.
Take a thermometer and tape it to the bottom of the cooler where you will place the eggs. Use a 25-watt light bulb and screw it into the socket and place the lid on the cooler. Plug in the light bulb and allow the light to stay on for about an hour. The temperature should not go beyond 98ºF. You can lower the temperature by poking more holes into the cooler.
In an Incubator
You can buy a still air incubator for hatching quail eggs. Or you can even go in for buying an incubator with ventilation holes or fan for circulating air and heat.
You need to buy quail eggs only from reputed farms as they will surely not dupe you with infertile eggs. Or you can go hunting and gather some eggs. A fertile quail egg will have a strong shell. Place the eggs in the incubator very gently and carefully. You need to adjust the light, heat, and humidity inside the incubator according to the instructions on the machine. The humidity level should be about 55% to 60% during incubation and 75% to 85% after hatching. The temperature should be close to 100ºF. Place the egg with the small, pointed end facing downwards. If your incubator has an auto turner, turn it off for the first 3 days. The egg tray should be turned 30º each day. If you do not have an auto turner, turn the eggs yourself at least 3 times a day.
You should carefully monitor the humidity levels. Many quail eggs fail to hatch if the humidity is too high. The humidity levels should be about 60% and the water trough needs to be filled every day. Usually, after about 16 to 18 days, depending upon the species, the eggs will hatch. You need to stop turning the eggs 3 days before the predicted hatch date. Once the eggs hatch, do not remove them from the incubator. After about 6 to 7 hours transfer them to a quail brooder.
You need to use a thermostat to keep the chicks warm after hatching. You can use a red 100-watt bulb inside the thermostat and lower the temperature by 3 degrees every week. If you find the babies huddling together, it means you need to increase the temperature.
Remember to keep the chicks warm and protected from the outside air. Never overheat or allow the eggs to come down to room temperature after placing them in an incubator. With a lot of care and a little patience you will be successful in hatching these eggs.
